

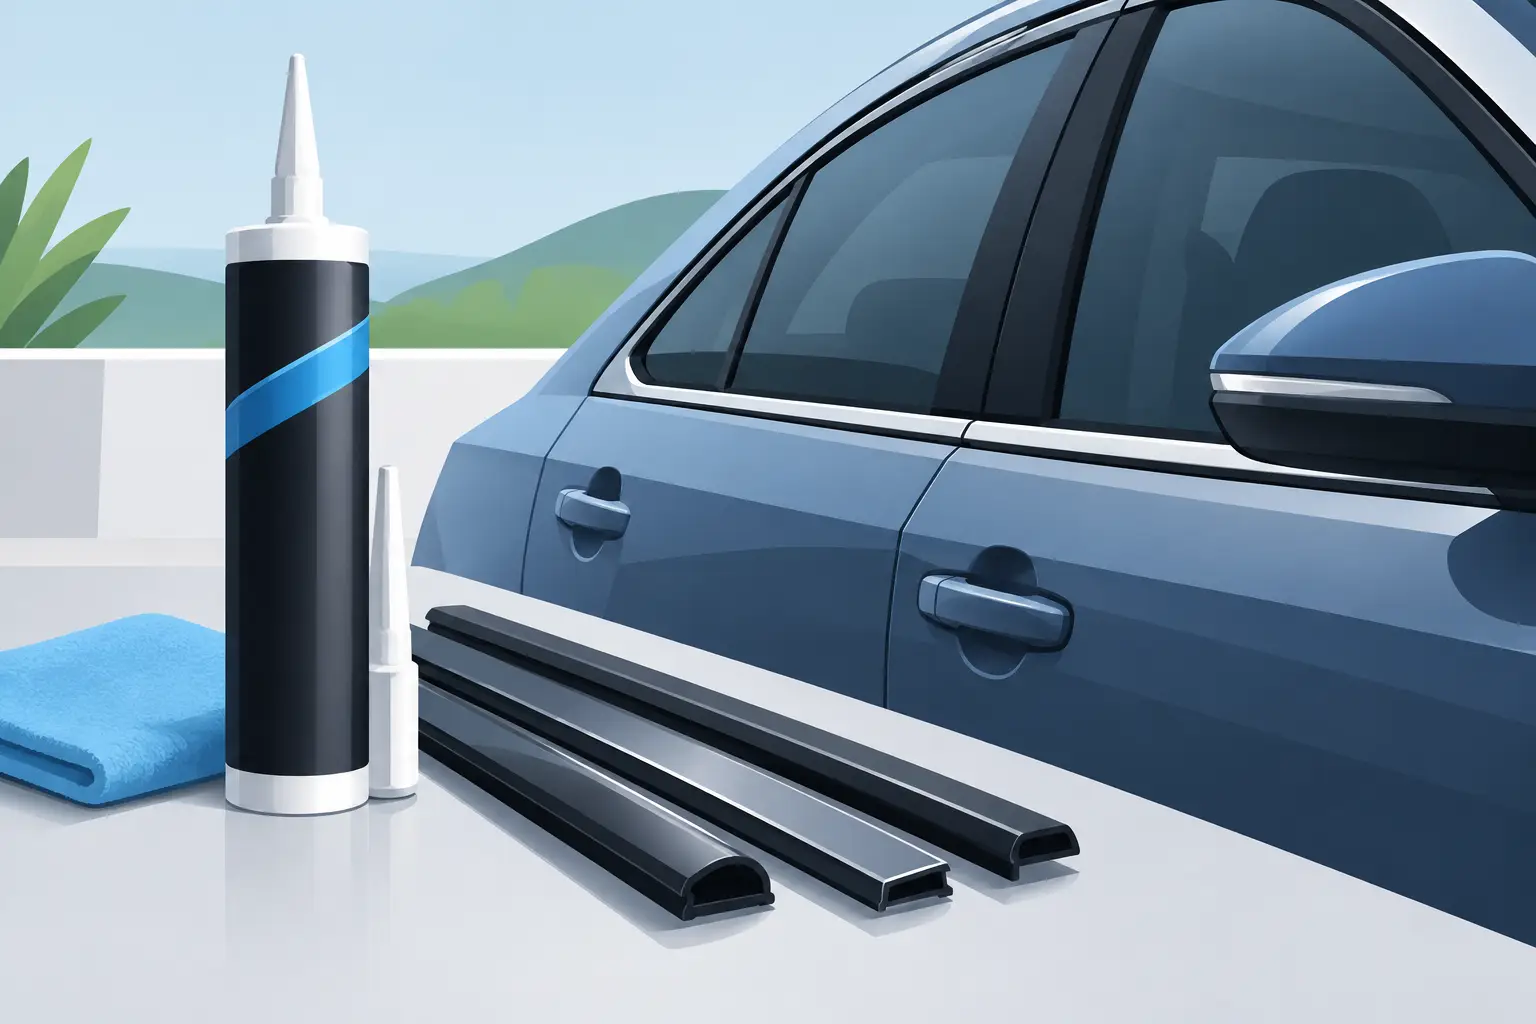
Best Adhesive for Vehicle Trim That Lasts
A loose molding, badge, wheel-arch flare, or door protector is rarely just a cosmetic problem. At highway speed, poor adhesion can become a vibration issue, a water-entry path, or a costly comeback for the workshop. The best adhesive for vehicle trim is not one product for every repair. It is the bonding system that matches the trim material, painted surface, exposure conditions, and expected service load.
For most exterior trim installations, automotive-grade acrylic foam tape is the practical first choice. For damaged parts, irregular bonding faces, and repairs that need gap filling, a flexible polyurethane or MS polymer adhesive may be the stronger option. The distinction matters because a bond that looks secure at handover can fail after repeated heat cycles, rain, washing, and road vibration.
Best Adhesive for Vehicle Trim: Start With the Application
Vehicle trim covers a broad group of parts: side moldings, emblems, spoilers, weatherstrips, bumper garnishes, rocker-panel protectors, mirror components, wheel-arch flares, and interior decorative panels. These parts do not carry the same loads or face the same environment.
A thin exterior molding with a clean, flat mounting flange usually performs best with a high-performance acrylic foam tape. The tape creates an even bond line, distributes stress across the full contact area, absorbs vibration, and preserves the factory-style appearance. It is especially effective where drilling, visible fasteners, or adhesive squeeze-out are unacceptable.
A polyurethane or hybrid polymer adhesive is better suited to a rigid trim component with an uneven back surface, a repair where tape cannot fully contact the panel, or an installation that requires filling a small gap. These materials cure into a flexible bond that tolerates movement. They must be applied with control, however, because excess material can contaminate paintwork and make future trim removal difficult.
Mechanical retention should not be ignored. Clips, screws, and locating tabs often carry part of the load even when adhesive is used. If the original clips are broken or missing, adhesive alone may not restore the intended retention of a large or highly stressed panel.
Acrylic Foam Tape for Clean Exterior Trim Work
Automotive acrylic foam tape is widely used because it is engineered for painted metal, glass, and many common automotive plastics. Its foam core conforms to minor surface variation, while its acrylic adhesive resists weathering, moisture, and temperature cycling better than general-purpose double-sided tape.
For flat trim parts, use a tape width that gives sufficient bonding area without extending beyond the mounting flange. A narrow strip on a wide molding concentrates stress and creates edge lift. Corners and ends need particular attention because they are exposed to airflow, wash pressure, and repeated handling.
The main trade-off is gap tolerance. Foam tape can accommodate slight irregularity, but it cannot compensate for a warped molding, an uneven repair surface, or a deep recessed channel. It also depends on firm pressure during installation. Without uniform pressure, the tape may only make partial contact, leaving weak sections that fail first in heat or rain.
Do not substitute household mounting tape, carpet tape, or low-grade foam tape for automotive exterior work. These products may hold initially but commonly soften in heat, absorb moisture at the edges, or leave adhesive residue when they fail. Professional-grade automotive tape costs more than a temporary alternative, but it reduces rework and protects the finish beneath the trim.
When Primer Is Required
Not every plastic accepts adhesive equally. Polypropylene, polyethylene, and thermoplastic olefin – commonly identified as PP, PE, or TPO – have low surface energy. Adhesives and tapes can struggle to wet out these surfaces, even when the part looks clean.
For low-surface-energy trim, use the tape manufacturer’s approved adhesion promoter or primer after cleaning. This step is also valuable on aged plastic, textured surfaces, and areas where mold-release residue may remain from manufacturing. A primer is not a cure for poor preparation, but it can make the difference between a bond that survives routine use and one that lifts at the first wash.
Urethane and Hybrid Adhesives for Repairs and Gaps
Flexible polyurethane adhesives provide high bond strength and durable resistance to vibration. They are suitable for trim repairs where the bond line is not perfectly flat, where a component has separated from its backing, or where a small gap must be filled. Many automotive formulations are also paintable after cure, which is useful when a repair is part of refinishing work.
Hybrid MS polymer adhesives offer similar flexibility with a cleaner application profile in many maintenance situations. They can adhere well to a range of construction and automotive substrates, but product selection should still be based on the manufacturer’s compatibility guidance for plastics and painted finishes.
The trade-off with liquid adhesives is cure time. The part may need masking tape, clamps, or temporary fixturing until the adhesive develops handling strength. High humidity, cold temperatures, thick adhesive beads, and poor ventilation can affect cure behavior. A vehicle should not be returned to demanding service before the specified cure period has passed.
Avoid rigid epoxies for trim that is expected to flex with the body panel. Epoxy can be useful for certain hard-plastic repairs, but its stiffness may concentrate stress and crack when the trim or panel moves. It is also generally unsuitable for weatherstrip and flexible exterior molding applications.
Surface Preparation Determines Bond Strength
The adhesive does not bond to the vehicle if it is actually bonding to wax, silicone dressing, road film, oxidation, or old adhesive residue. Preparation is where reliable installations are won or lost.
Remove the existing adhesive completely without damaging the paint or substrate. Then clean both bonding surfaces using an automotive-safe surface cleaner or isopropyl alcohol applied with a clean, lint-free cloth. Change cloth sections often so contamination is lifted away rather than spread across the panel.
Dry-fit the part before exposing any tape liner or applying adhesive. Confirm the alignment, contact area, clip engagement, and clearance around doors, fenders, and moving panels. Mark reference points with low-tack masking tape if needed. Once a high-performance tape contacts the panel, repositioning may be difficult and can reduce final bond quality.
Temperature is equally important. Very cold panels reduce initial tack, while excessively hot surfaces can make positioning difficult and accelerate adhesive skinning. Install materials within the product’s recommended application range whenever possible. A clean, dry, temperature-controlled workshop is more reliable than an outdoor repair performed on a dusty or sun-heated vehicle.
Match the Adhesive to the Trim Material
Painted steel and aluminum panels are generally favorable bonding surfaces when properly cleaned. Clear-coated paint can also bond well, provided it is sound and fully cured. Fresh paint requires special care: bonding before the coating has fully cured can create adhesion loss or mark the finish during removal.
ABS, acrylic, polycarbonate, and many painted plastics are commonly compatible with automotive foam tapes and flexible adhesives. Chrome-plated trim and stainless-steel moldings usually require thorough cleaning and firm application pressure. Textured plastics need more evaluation because only the raised surface areas may contact the tape.
Rubber weatherstrips and flexible seals require an adhesive specifically designed for elastomers and automotive weatherstrip work. Standard foam tape may not follow the movement of a flexible seal, while rigid adhesives can crack or detach. If the rubber is severely hardened, torn, or permanently deformed, replacement is often more dependable than bonding.
Installation Controls That Prevent Comebacks
Professional results come from controlling the full process, not just selecting a premium adhesive. Keep installation materials sealed and stored correctly. Expired tape, contaminated nozzles, or improperly stored cartridges can reduce performance before the product reaches the vehicle.
Apply continuous tape runs where practical, especially around trim ends and high-exposure edges. Avoid stretching tape during application because it can shrink back over time and pull away from the part. With liquid adhesive, apply a controlled bead that supports the component without excessive squeeze-out.
After placement, use firm, even pressure across the entire trim piece. Pressure activates the adhesive interface and improves wet-out on both surfaces. Follow the specified dwell time before washing the vehicle, exposing it to heavy rain, or driving at highway speed. Initial grip is not the same as full bond strength.
For workshops and distributors, standardizing around a tested range of automotive tapes, primers, and flexible adhesives reduces variation between technicians and jobs. The Engineer product range is built around this practical requirement: dependable materials that help professional teams complete repairs with consistent results.
A trim bond should look factory-clean, remain quiet on the road, and stay secure through heat, water, vibration, and routine washing. Select the chemistry for the real service condition, prepare the surface with discipline, and allow the bond the time it needs to perform.
Leave a Reply