

How to Seal HVAC Ducts for Lasting Performance
Air leakage at duct joints is not a minor finishing issue. In commercial buildings, workshops, multifamily properties, and light industrial facilities, unsealed ductwork wastes conditioned air, disrupts room balance, increases equipment runtime, and creates avoidable callbacks. Knowing how to seal HVAC ducts correctly helps contractors and maintenance teams protect system performance from the first startup through years of operation.
A dependable seal depends on more than applying tape around a joint. The duct surface must be clean, the joint must be mechanically sound, the material must match the application, and the seal must be checked before insulation or ceiling closure makes future access difficult. This is precision work with a direct impact on energy use, comfort, indoor air quality, and maintenance cost.
Why HVAC Duct Sealing Matters
Every supply-side leak sends treated air into ceilings, shafts, mechanical rooms, or unconditioned spaces instead of the occupied zone. Return-side leaks can be equally damaging because they pull hot, dusty, humid, or contaminated air into the system. That additional load can reduce cooling performance, upset static pressure, and cause rooms at the end of a run to receive inadequate airflow.
For project managers, duct leakage also creates a commercial risk. A system may appear complete, but poor sealing can lead to balancing problems, occupant complaints, higher utility bills, and rework after finishes are installed. Quality sealing supports predictable commissioning and reduces the chance that a small joint failure becomes a larger service issue.
The best material is not always the material with the fastest application. Tape may be appropriate for straight, accessible joints when it is rated for HVAC use and applied to prepared metal. Mastic is often the stronger choice for irregular seams, branch connections, and joints with small gaps. The right decision depends on duct type, location, expected movement, temperature exposure, and the project specification.
Materials Needed to Seal HVAC Ducts
Professional duct sealing starts with materials designed for HVAC service, not general-purpose repair. Standard cloth-backed duct tape is not a reliable long-term air-sealing material. Its adhesive can dry out or release under heat, dust, vibration, and age.
Use a compatible duct mastic or approved HVAC foil tape. For larger gaps, mastic combined with reinforcing mesh provides added strength and bridge capacity. Keep clean rags, a stiff brush, utility knife, gloves, and appropriate hand tools available. If the ductwork is greasy, dusty, or exposed to jobsite contamination, use a suitable cleaning method before sealing.
For insulated duct systems, plan the work sequence carefully. Seal the air barrier first, then restore insulation and vapor barrier layers as required. On externally insulated metal ducts, a well-sealed joint behind the insulation is far more dependable than an attempt to seal over damaged jacket material later.
How to Seal HVAC Ducts Step by Step
Inspect the full duct run before applying sealant
Begin at the air handler or rooftop unit and follow the supply and return paths. Look closely at longitudinal seams, transverse joints, elbows, takeoffs, reducers, access doors, plenums, and connections to equipment. Leaks often occur where sections meet, where sheet metal screws distort the surface, or where a branch collar has not been fully seated.
Do not seal over a poorly assembled connection. Refasten loose joints, correct misalignment, and confirm that drives, cleats, screws, or approved mechanical fasteners are secure. Sealant is an air barrier, not a substitute for proper duct construction.
Pay attention to hidden areas before ceilings are closed. Above-ceiling mains, vertical risers, return plenums, and equipment transitions are expensive to access once the project is complete. A disciplined inspection at this stage prevents future disruption.
Clean and dry the sealing surface
Mastic and tape need a stable surface to bond. Remove dust, oil, condensation, loose insulation fibers, and old failing tape. On galvanized sheet metal, wipe the surface until it is dry and free from residue. If the system has been operating, shut it down and allow surfaces to dry before application.
This preparation step is often where long-term performance is won or lost. Even a premium sealing product cannot deliver its designed adhesion when it is applied over construction dust or moisture.
Apply mastic to seams and irregular joints
Use a brush, gloved hand, or suitable applicator to spread duct mastic evenly over the joint. Cover the entire seam and extend the coating onto both sides of the connection. The finished layer should be continuous, without pinholes, skips, or thin edges that can crack as the duct expands and contracts.
For gaps or transitions that require reinforcement, apply a first layer of mastic, embed fiberglass mesh while the material is wet, then cover the mesh fully with a second layer. This creates a reinforced seal that is especially useful around flex duct collars, branch takeoffs, and uneven connections.
Allow the mastic to cure according to the product instructions before placing the system into full service. Cure time can vary with temperature, humidity, coating thickness, and ventilation conditions. Rushing this stage can weaken the final seal.
Use approved foil tape where it fits the joint
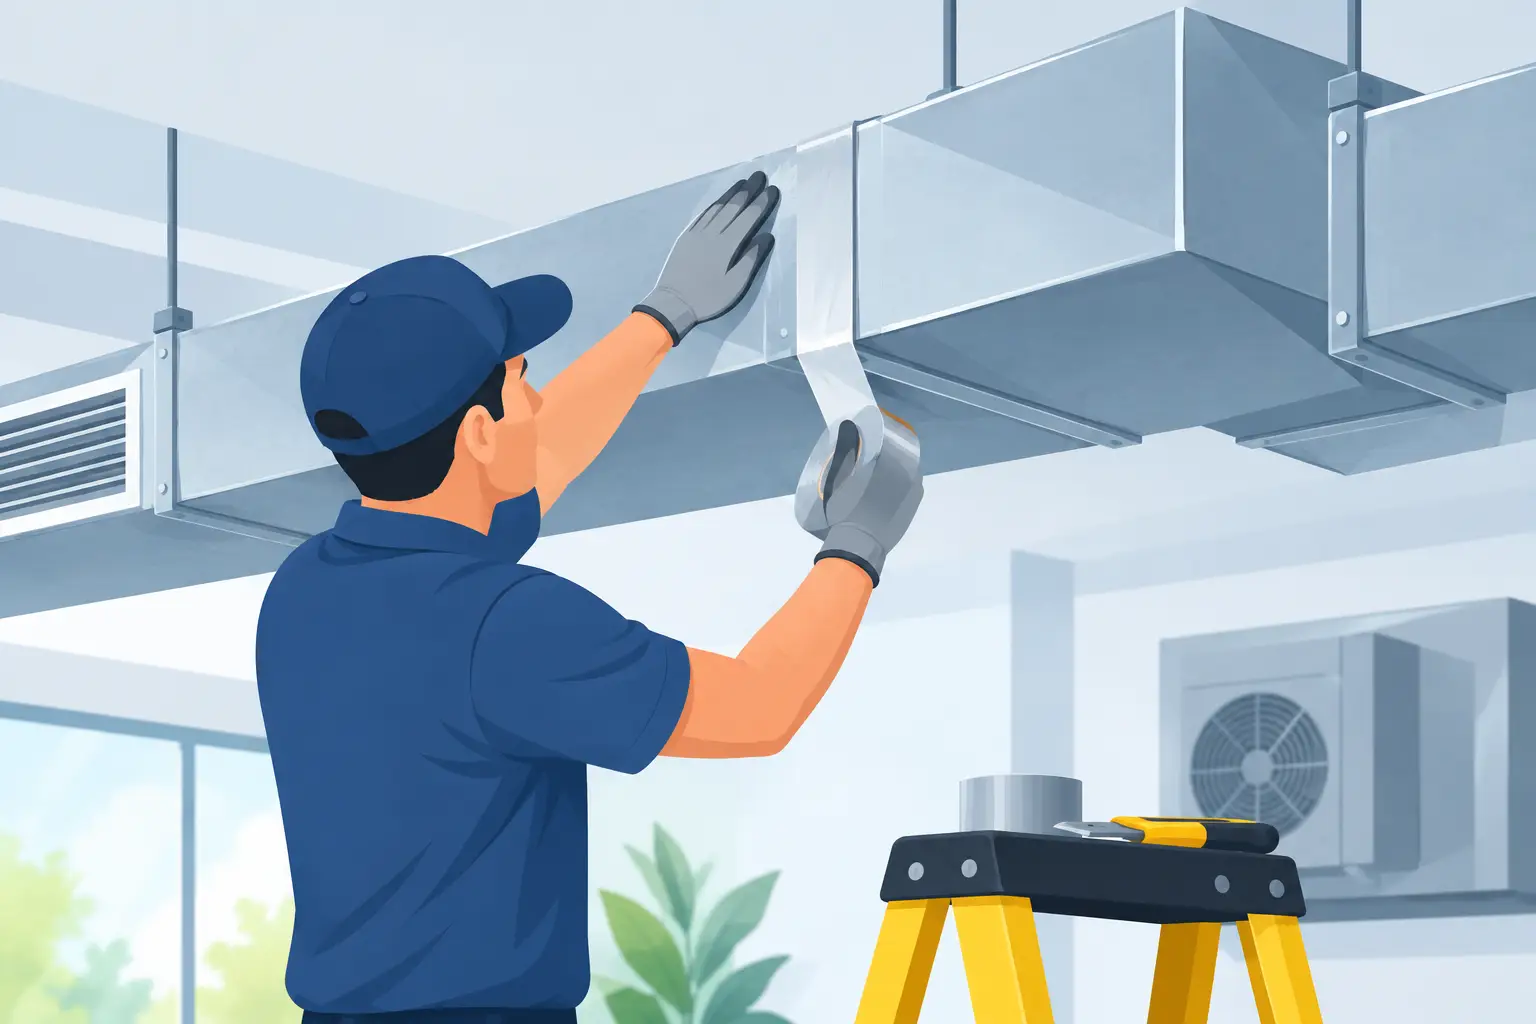
HVAC foil tape can provide a clean, efficient seal on properly aligned metal joints. Select tape rated for duct sealing and compatible with the operating environment. Apply it only to clean, dry surfaces, center it over the seam, and press it firmly along the full length using a squeegee or hand pressure.
Avoid stretching the tape during installation. Tension can cause it to pull back at corners or edges over time. Overlap tape ends sufficiently, smooth out wrinkles, and inspect every edge for lifting. Tape is most effective on flat, accessible surfaces. Where a joint is rough, gapped, oily, or irregular, mastic generally provides a more forgiving and durable solution.
Seal flex duct connections with extra care
Flex duct connections are common points of air loss. The inner liner must be pulled fully over the collar, mechanically fastened as required, and sealed at the liner connection. The insulation and outer vapor barrier should then be pulled back into place and separately secured to maintain the thermal and moisture barrier.
Do not apply sealant only around the outer jacket while leaving the inner liner unsealed. That may look complete from the outside, but it does not stop conditioned air from escaping at the actual air path.
Common Duct Sealing Failures to Avoid
The most frequent mistake is relying on conventional cloth duct tape. Despite its name, it is not engineered for lasting HVAC duct sealing. It may provide a temporary appearance of closure, then fail under normal temperature cycles and vibration.
Another common issue is using too little mastic. A thin, inconsistent coating may not bridge a seam or tolerate movement. Applying material over dirty metal creates the same result: early edge failure and recurring leakage.
Teams should also avoid sealing damp ductwork, covering access panels that require future service, or burying unresolved mechanical defects under sealant. Access doors, fire and smoke dampers, sensors, and service connections must remain functional and accessible according to the system design and applicable code requirements.
Verify the Seal Before Closeout
Visual inspection is the first quality check. Look for continuous coverage, pressed tape edges, sealed fastener penetrations where required, and complete treatment around fittings. Run a gloved hand near accessible joints while the fan operates to identify noticeable air movement, but recognize that small leaks may not be easy to feel.
For higher-performance projects, duct leakage testing provides measurable verification. Testing is particularly valuable on large commercial systems, projects with strict energy requirements, and installations where ducts run through unconditioned spaces. It gives the contractor, consultant, and owner objective evidence that the installation meets the intended standard.
Document the work before insulation and finishes conceal the ductwork. Photos of critical joints, equipment connections, risers, and hard-to-access areas provide useful closeout records and strengthen quality control across repeat projects.
Choose Materials Built for the Operating Environment
Duct sealing materials should be selected as part of the system, not as an afterthought. Consider whether the ducts are located indoors, on a rooftop, in a humid mechanical room, or near industrial processes. Temperature variation, UV exposure, vibration, dust, and cleaning chemicals can all affect long-term performance.
For contractors and distributors, consistent material quality matters as much as application technique. The Engineer product range is built around dependable industrial performance, helping professional teams specify solutions that support strong adhesion, durability, and reliable jobsite results.
A sealed duct system should remain a sealed duct system after startup, balancing, seasonal temperature changes, and routine maintenance. Treat every joint as a performance point, and the finished HVAC installation will be easier to commission, more efficient to operate, and more dependable for the people who rely on it.



Leave a Reply