

How to Seal Expansion Joints for Lasting Protection
A failed expansion joint rarely stays a joint problem. Water enters the assembly, debris restricts movement, edges begin to spall, and adjacent finishes can loosen. Knowing how to seal expansion joints correctly protects the wider system, whether the work involves a concrete slab, exterior facade, roof transition, parking area, or MEP penetration.
For contractors, maintenance teams, and project managers, the objective is not simply to fill a gap. The seal must accommodate expected movement while maintaining adhesion, weather resistance, and a clean joint profile. Material selection, joint preparation, and installation discipline all determine whether the seal performs for years or fails after the first demanding season.
Why Expansion Joints Need Flexible Sealing
Expansion joints are intentionally created to allow separate building elements to move. Concrete expands and contracts with temperature changes, moisture conditions, and curing behavior. Metal panels, masonry, glazing systems, and roof assemblies also move at different rates. If a joint is rigidly filled or bridged with an unsuitable material, that movement transfers stress into the surrounding surfaces.
A properly selected flexible sealant absorbs movement within its rated capability. It also closes the route for rainwater, dust, air leakage, chemicals, and pests. In exterior applications, the sealant may be the first line of defense against water reaching insulation, reinforcement, substrates, and interior finishes.
The required performance depends on the location. A facade joint must resist ultraviolet exposure and driving rain. A floor joint may need abrasion resistance, chemical resistance, and compatibility with wheeled traffic. A roof joint must tolerate heat cycling and standing water conditions. Treating all joints as the same application is a common source of premature failure.
Assess the Joint Before Choosing a Sealant
The correct product begins with an accurate assessment of the joint, not a preference for a familiar cartridge or application method. Confirm the joint substrate, width, depth, orientation, anticipated movement, exposure conditions, and service requirements.
Concrete-to-concrete joints may require a different approach than concrete-to-metal or metal-to-glass interfaces. Porous substrates can need primer to support dependable adhesion. Smooth or coated surfaces must be checked for compatibility, especially where paints, membranes, protective coatings, or existing sealants are present.
Movement is especially important. Measure the joint at the time of installation, then consider the temperature range and expected building movement. A joint installed at its widest position has less capacity to open further, while one installed at its narrowest position has less capacity to close. Sealant geometry must account for both directions.
Also identify the service environment early. Ask whether the joint will be exposed to fuel, oils, cleaning chemicals, salt, vibration, pedestrian traffic, vehicle wheels, or high-pressure washing. These conditions may require a specialty formulation or a joint system with mechanical protection rather than a standard construction sealant alone.
Match the Sealant Chemistry to the Application
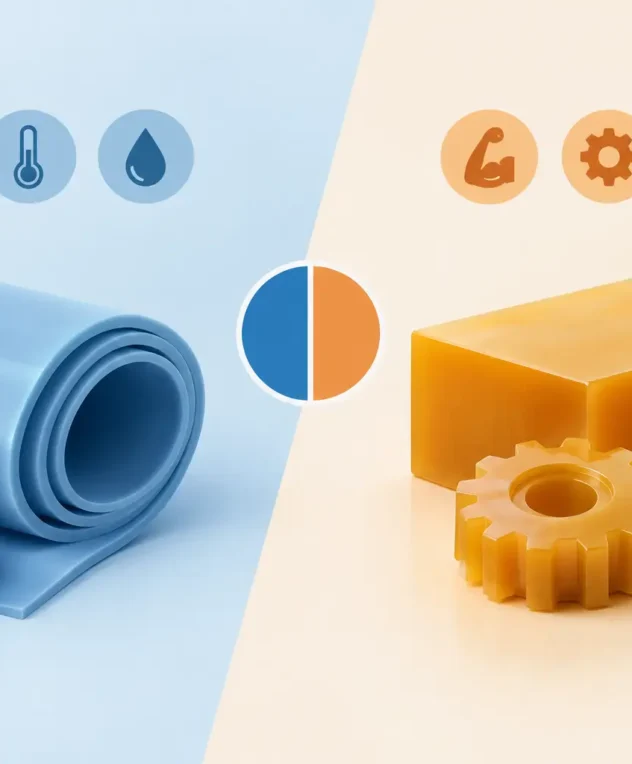
Common sealant families can serve expansion-joint work, but each has practical limits. Polyurethane sealants are often selected for strong adhesion and durable performance in construction joints. Silicone sealants are widely used where superior weathering and temperature resistance are needed, particularly around glazing and exterior envelopes. Hybrid polymer sealants can offer useful adhesion and weathering characteristics across a broad range of maintenance and construction applications.
The best choice depends on the specified movement rating, substrate compatibility, paintability requirements, cure conditions, and exposure. For example, a paintable joint in a protected interior area has different needs than an exposed curtain-wall perimeter joint. Technical data, project specifications, and representative adhesion testing should guide the final selection.
Do not assume a sealant labeled for exterior use is suitable for every exposed joint. Verify movement capability, UV resistance, immersion limitations, chemical resistance, and the manufacturer’s recommendations for joint dimensions. Premium performance starts with matching the formulation to the actual operating conditions.
How to Seal Expansion Joints Correctly
Installation quality is as critical as sealant quality. Even a high-performance material can fail if it is applied over weak surfaces, contaminated edges, or an incorrectly sized backing material.
Prepare Clean, Sound Joint Edges
Remove failed sealant completely where replacement work is required. Cut back to sound material and eliminate loose concrete, laitance, rust, dust, oil, curing compounds, and incompatible coatings. Mechanical cleaning may be needed for deteriorated joints, followed by vacuuming or oil-free compressed air.
The joint faces must be dry unless the selected product is specifically designed for damp surfaces. Moisture trapped in a joint can affect adhesion and cure. On existing structures, inspect for active leaks, substrate cracking, and edge damage before sealing. A sealant cannot correct a joint that has lost its structural integrity.
Where the product system requires primer, apply it evenly to the joint faces and allow the specified flash-off time. Skipping primer to save time can create an adhesion risk that may not become visible until the joint experiences movement or weather exposure.
Control Sealant Depth With Backer Rod
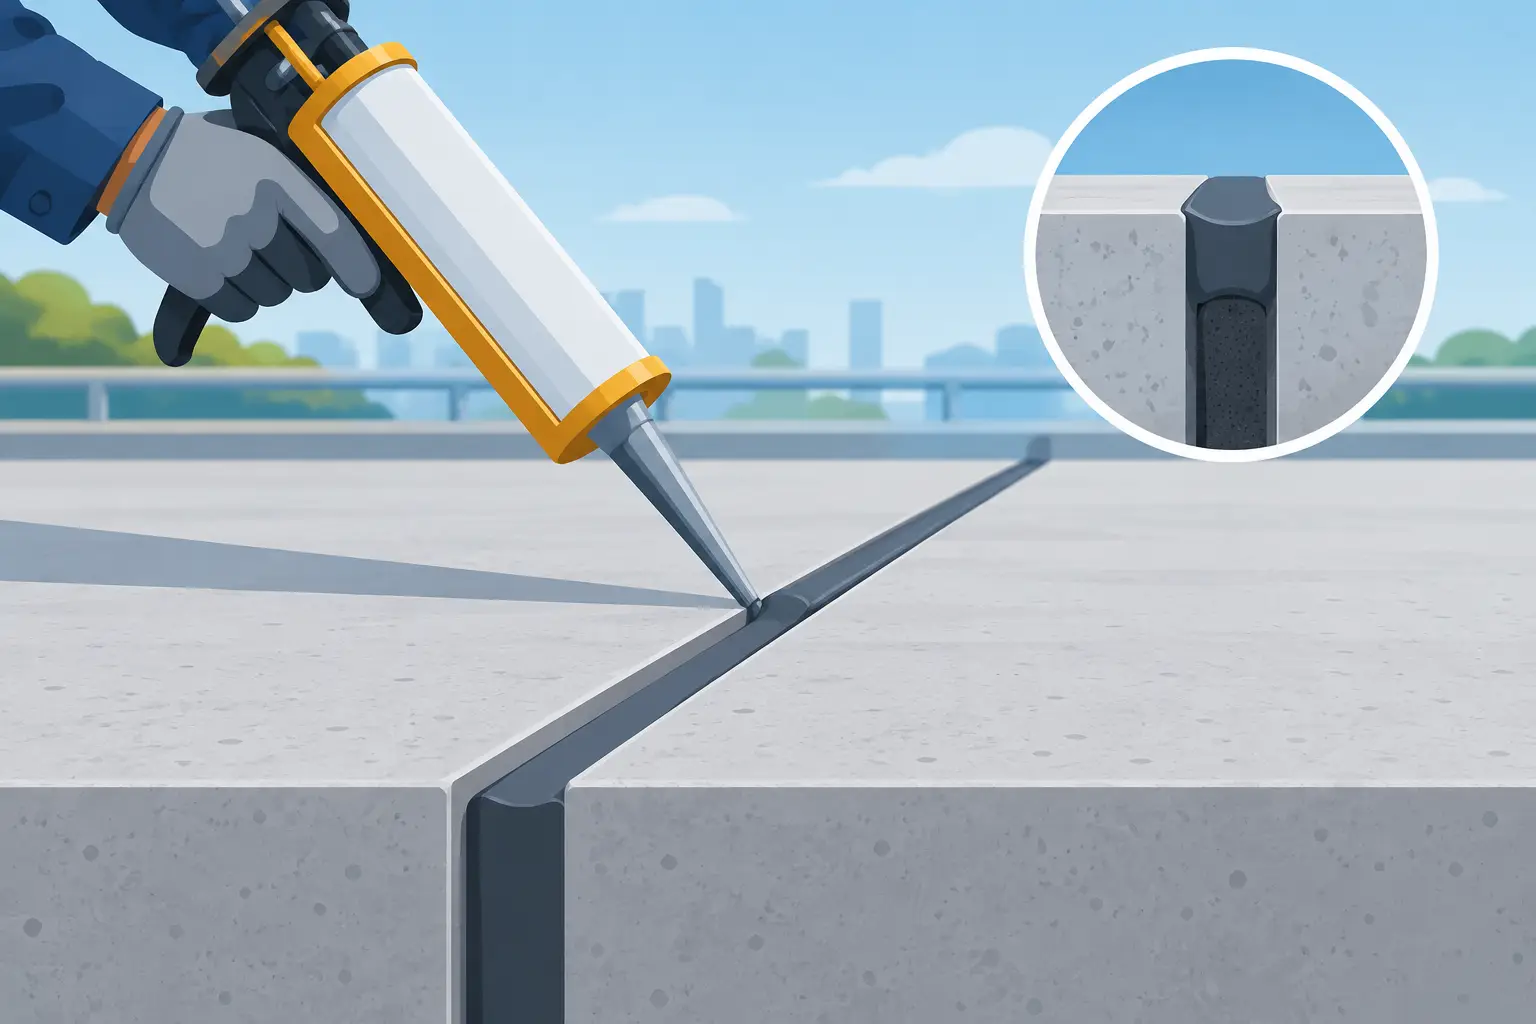
A closed-cell backer rod is commonly used to control the depth of the sealant and create the correct joint profile. It prevents unnecessary sealant consumption and helps avoid three-sided adhesion, which can restrict movement and concentrate stress.
The sealant should generally bond to the two opposing joint faces, not to the bottom of the joint. For shallow joints or irregular configurations where backer rod is unsuitable, a compatible bond-breaker tape may be used. The right option depends on joint size, substrate condition, and product instructions.
Backer rod diameter matters. It should fit firmly enough to stay in place without being over-compressed or punctured during installation. Set it at a consistent depth so the sealant bead has a uniform profile. In many applications, the desired sealant depth is related to the joint width, but the applicable product data and engineering specification should control.
Apply a Continuous, Tooled Bead
Use a correctly sized nozzle and apply the sealant in one controlled pass whenever possible. Keep the nozzle tip in contact with the joint area to reduce voids and ensure full contact with both joint faces. Start and stop points deserve close attention because discontinuities often become leak paths.
Tool the sealant immediately within its working time. Tooling presses the material into the substrate, removes trapped air, and forms a slightly concave profile that can better accommodate movement. Avoid excessive tooling liquid or unsuitable solvents, as they can affect surface cure, appearance, and adhesion.
On vertical or overhead joints, confirm that the selected sealant has the necessary non-sag characteristics. On horizontal traffic areas, use a product intended for that service and protect the joint until cure is complete. Premature foot traffic, cleaning, or equipment movement can damage a new joint before it develops full performance.
Common Failures and What They Reveal
Adhesive failure, where the sealant separates cleanly from one joint face, usually points to contamination, inadequate surface preparation, missing primer, or an incompatible substrate. Cohesive failure, where the sealant tears through its own body, can indicate movement beyond the product’s capability, incorrect joint geometry, or aging under severe exposure.
Cracking at the edges may occur when the sealant is too thin, too deep, or bonded on three sides. Bubbling can result from moisture, outgassing from porous substrates, or unsuitable installation conditions. A sticky surface or incomplete cure can signal incorrect product selection, excessive bead depth, temperature problems, or chemical contamination.
These conditions should be investigated rather than covered with another layer of material. Applying fresh sealant over a failed joint without removing the root cause often produces a short-term cosmetic repair and a repeat maintenance call.
Plan for Inspection and Maintenance
Expansion-joint sealing should be included in routine facility inspection, especially after extreme heat, heavy rain, building movement, or chemical exposure. Check for separation, cracks, hardening, dirt accumulation, ponding water, and damage from carts, vehicles, or maintenance equipment.
Exterior joints should be inspected before rainy seasons. High-traffic floor joints need more frequent attention because abrasion and impact can damage both the sealant and adjacent concrete edges. Early repair is typically faster and less costly than addressing water-damaged finishes, corroded components, or failed coatings later.
For recurring work across multiple sites, standardize the approved sealant systems, surface-preparation process, and quality checks. A performance-led range such as The Engineer supports professionals who need dependable materials across construction, maintenance, MEP, and industrial applications, but field conditions should always determine the final system choice.
A well-sealed expansion joint is a controlled movement zone, not an afterthought. Give it the right geometry, compatible materials, and careful installation, and it will protect the assets around it when temperature, traffic, and weather put the structure to work.

Leave a Reply